

How To Draw Mountains In Gimp
Creating Mountains for Fantasy Maps in GIMP 2.eight (2.10.12)
I've been drawing maps for D&D since first playing the game in '78. Playing online requires digital maps, so I taught myself using GIMP.
Created by Frost Birch Maps
Mountains are a Hurting
When I was outset learning to use GIMP to make fantasy maps, I used filters to warp and texture the land, which created a random, textured map that I used every bit a base and worked from in that location. It was all well and skillful when creating random maps, just if ane wanted to brand a custom map with specific features in specific places, the random method would non work.
The steps y'all become through to make a random map and a custom map are the same at first and then I volition gloss over the beginning and you lot tin can come across how I practise specifics in other articles I have written.
- Create a layer for Land and a layer for Water.
- Piece of work on copies of these two layers.
- Build layer on layer and then you can edit one without changing others.
- Use layers to create different versions of maps. (ex. Players map vs. DM map)
Created by Frost Birch Maps
Created by Frost Birch Maps
Setting a Base
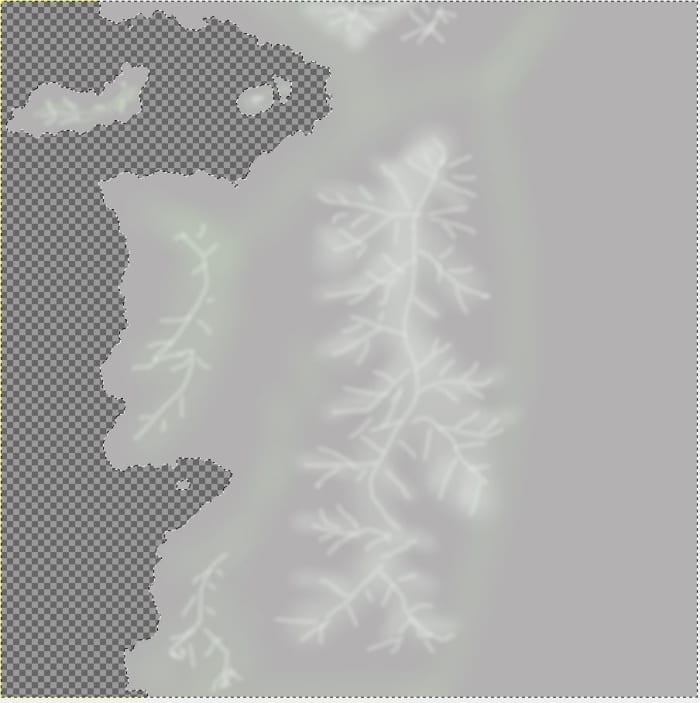
To make mountains where y'all want them, you start with a solid base and then add layers of colors from night to light. Dark existence lowest elevations and lite existence highest.
- First with a transparent layer.
- Fill in the country portion with a color. I use deep grey ( b3b2b2 )
- Lay in the base of the mountains with a soft brush ( bdc8b8 )
- Add together more than layers for a college altitude. Each one lighter in shade the higher yous go.
- With a thinner line, describe the crest of the mountain ( e4eae4 )
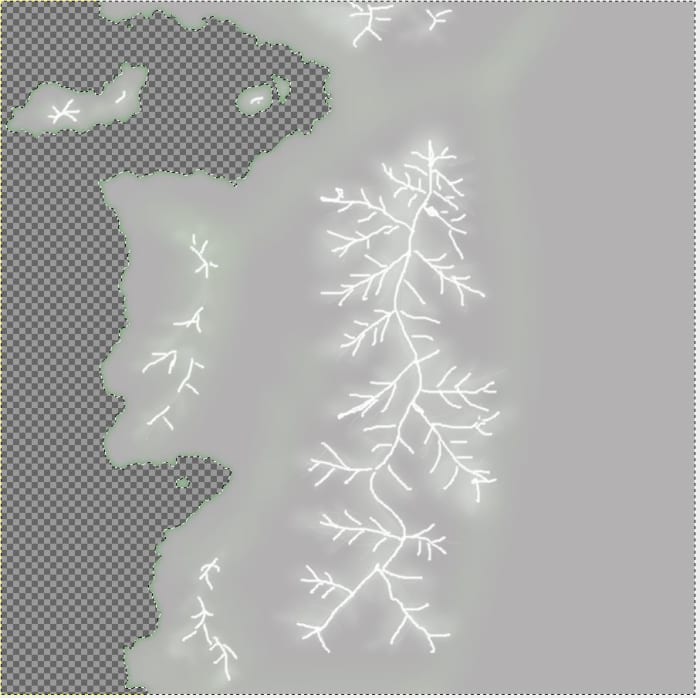
- Use a Gaussian Blur filter on the area with a mistiness radius at fifteen.
- Superlative off the crest with white with the narrowest castor . ( ffffff )
- Use Gaussian Blur again only with a 15 blur radius.
- Now employ Filtersouthward- Distorts-Emboss... Play with settings until you similar the upshot.
Scroll to Continue
Note: Vary the thickness of the lines you draw with each colour to add a variance to the contours of the resulting land mass.
Created by Frost Birch Maps
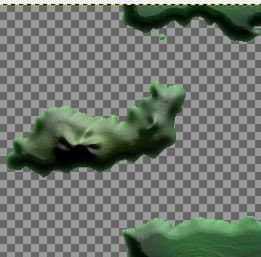
Coloring Your Mountains
The next step in creating your fantasy map mountains is to add shading and color.
- Add a new transparent layer.
- Employ a soft brush setting sized to match your mountains.
- Start with an off white color and about a 50% Opacity castor setting.
- Shade the lighter side of your mountains.
- Utilize a smaller brush and total white colour to add snow to the tops of your highest mountains.
- With the same soft brush and 50 % Opacity you can add greens and tans to the lower levels where greenery would be... or a sandy beach.
Created by Frost Birch Maps
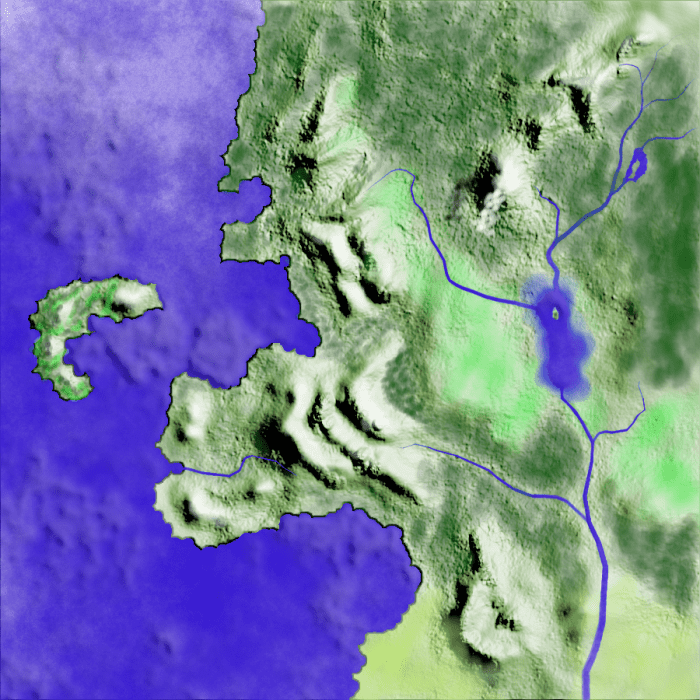
Underwater Mountains
Raising mountains under water is the same as on state.
- Lite colors are higher so make the areas closer to state, lighter.
- Map the islands like they ar mountain tops.
- Deep water is darker.
- Make iii layers one for texture, one solid blueish and one white. Blue is the middle layer, texture is on top.
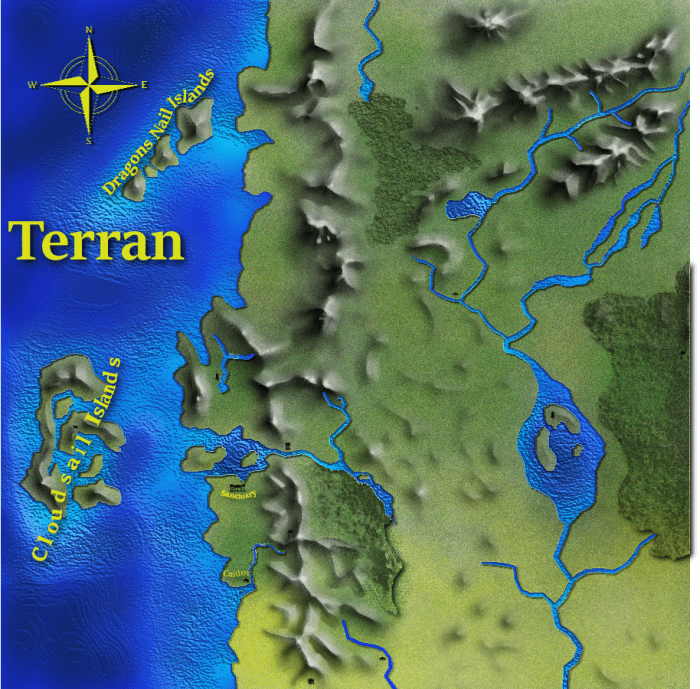
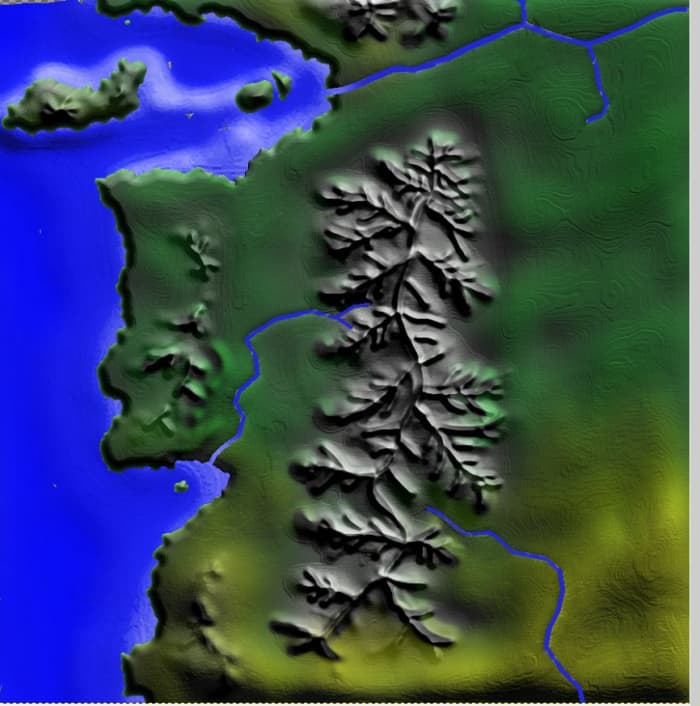
Finished Map
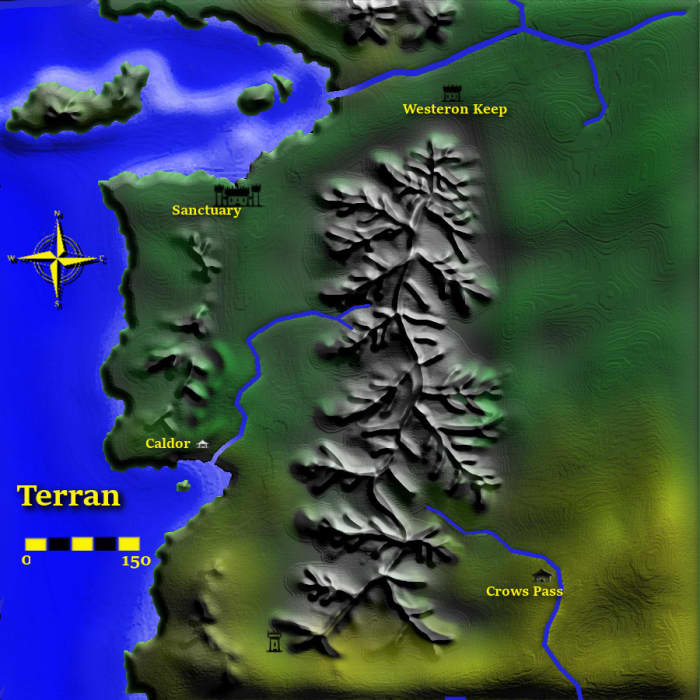
Created past Frost Birch Maps
Created with GIMP two.10.12
Frost Birch Maps
Related Articles

Source: https://hobbylark.com/tabletop-gaming/Creating-Mountains-in-Fantasy-Maps-in-GIMP-28
Posted by: greenlyharsecy.blogspot.com
0 Response to "How To Draw Mountains In Gimp"
Post a Comment